Do you have a bike that won't start when cold no matter how much choke you give it? Does it take a bit of starting fluid to get it to spring to life? Does it then start right up after it has warmed up? It sounds to me like you've got a plugged Enrichment Circuit Well and it needs to be cleaned.
Where are we going to find the Enrichment Circuit Well? Unfortunately, it's located in the fuel bowl which means--yes, you guessed it--the carbs have to come off to clean them. So, pick a nice rainy day when you wouldn't have gone riding anyway and let's get to it. Besides, the first time you hit that starter button after the cleaning has been done and the bike starts right up, you'll be glad you did it.
You're going to need a couple of tools to complete this task. There are people who sell extra long drill bit for reaching down and clearing out the Starter Jet at the bottom of the well. I personally used the smallest rod from a cutting torch tip cleaning set. I laid it against a grinding wheel to make a long tapered tip. (If you do this, be very careful with it. It's like a very long needle.) Aerosol carb cleaner is a must, too. Something with the little plastic nozzle on the can, too. I'd recommend filling the well with the carb cleaner and letting it sit to soak for an hour or so before you get after it.
Now to the Enrichment Circuit. After you remove the carbs and their fuel bowls, you'll notice a brass tube sticking up (down) from the bottom of the carb body. This tube extends down into a well. This is what we are after. When you apply choke, a valve up above opens and pulls fuel up from this well to enrich the fuel/air mixture entering the engine. This enriched state is what helps get the bike started when it is cold. If the passage way into the well becomes plugged, fuel won't fill the well and you won't be able to start the bike with out adding some fuel from an external source (starter fluid).
That said, here is an overhead shot of what a typical Hitachi fuel bowl looks like and where we'll be concentrating our cleaning efforts:

The upper port bisects the well at about a 45° angle. Fuel from the bowls flows into the lower portion of the well from the fuel bowl. Due to this downward angle, sediment and crud tends to collect at the bottom of this drilled boss. Here's another sectional view to help you better "see" how these two holes intersect. (Note: this picture depicts what I "imagine" they look like. I've not cut one in two to find out for sure.)

With your tool, you'll want to carefully probe and remove any obstructions in these two passages. You can use the carb spray to help flush debris out of the hole, too. The acid test to know if you've got it properly cleaned is to place the straw from the carb cleaner can up tight against the passage leading into the well and spray fluid into the hole.

If you've done a good job cleaning, carb cleaner will literally spray out the well in a stream about ten feet. It has to be in a stream--like from a squirt gun--to be considered cleaned.
Oh, and remember while doing this...
(Editor's Note: Always wear eye protection when doing any kind of mechanical work. Follow safe shop practices and keep your work area clean. When working with solvents always make sure your room is well ventilated and you wear proper respiratory protection.)
Here's a picture I showing a properly cleaned well using a bright pen light.
But, remember, the Enrichment Circuit Well is only half the Enrichment Circuit. While you're at it, you might as well finish the job by making sure the tube that drops into the well is also clear. Once you're satisfied you've done a good job, put her back together and be amazed at how easily your bike will start.
Cheers!
(Written by Don Bangert Author of several How-To's and the blog,
The Path Less Traveled.)
 Most of my posts are about me and what I have been doing. While they are typically motorcycle and XJ650 related sometimes they are more of a rant to keep me out of the clock tower with the bottle of Southern Comfort and the high powered Italian assault rifle.
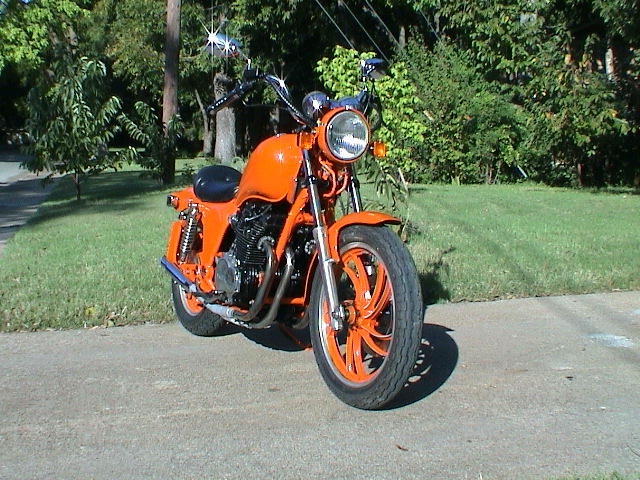
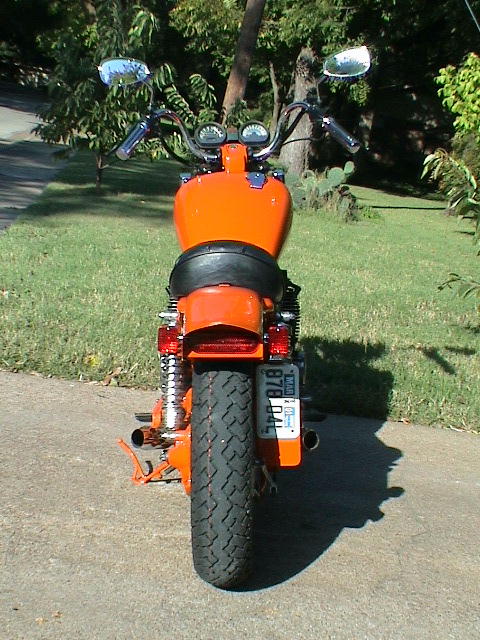
 This has got to be one of my favorite motorcycles. Mainly because it's mine. But also because I know that no detail was overlooked in the building of this custom Yamaha XJ650 Maxim Cafe Racer. This bike was built for a 'round the world trip starting in Europe. The entire bike was stripped down to the frame and built up from scratch.
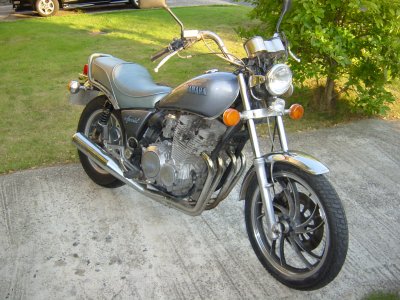 This is a 1983 XJ650 Maxim Special. This bike is pretty close to stock with the exception of the silver upholstery on the seat. This motorcycle was exported from the United States to England back in 1989.